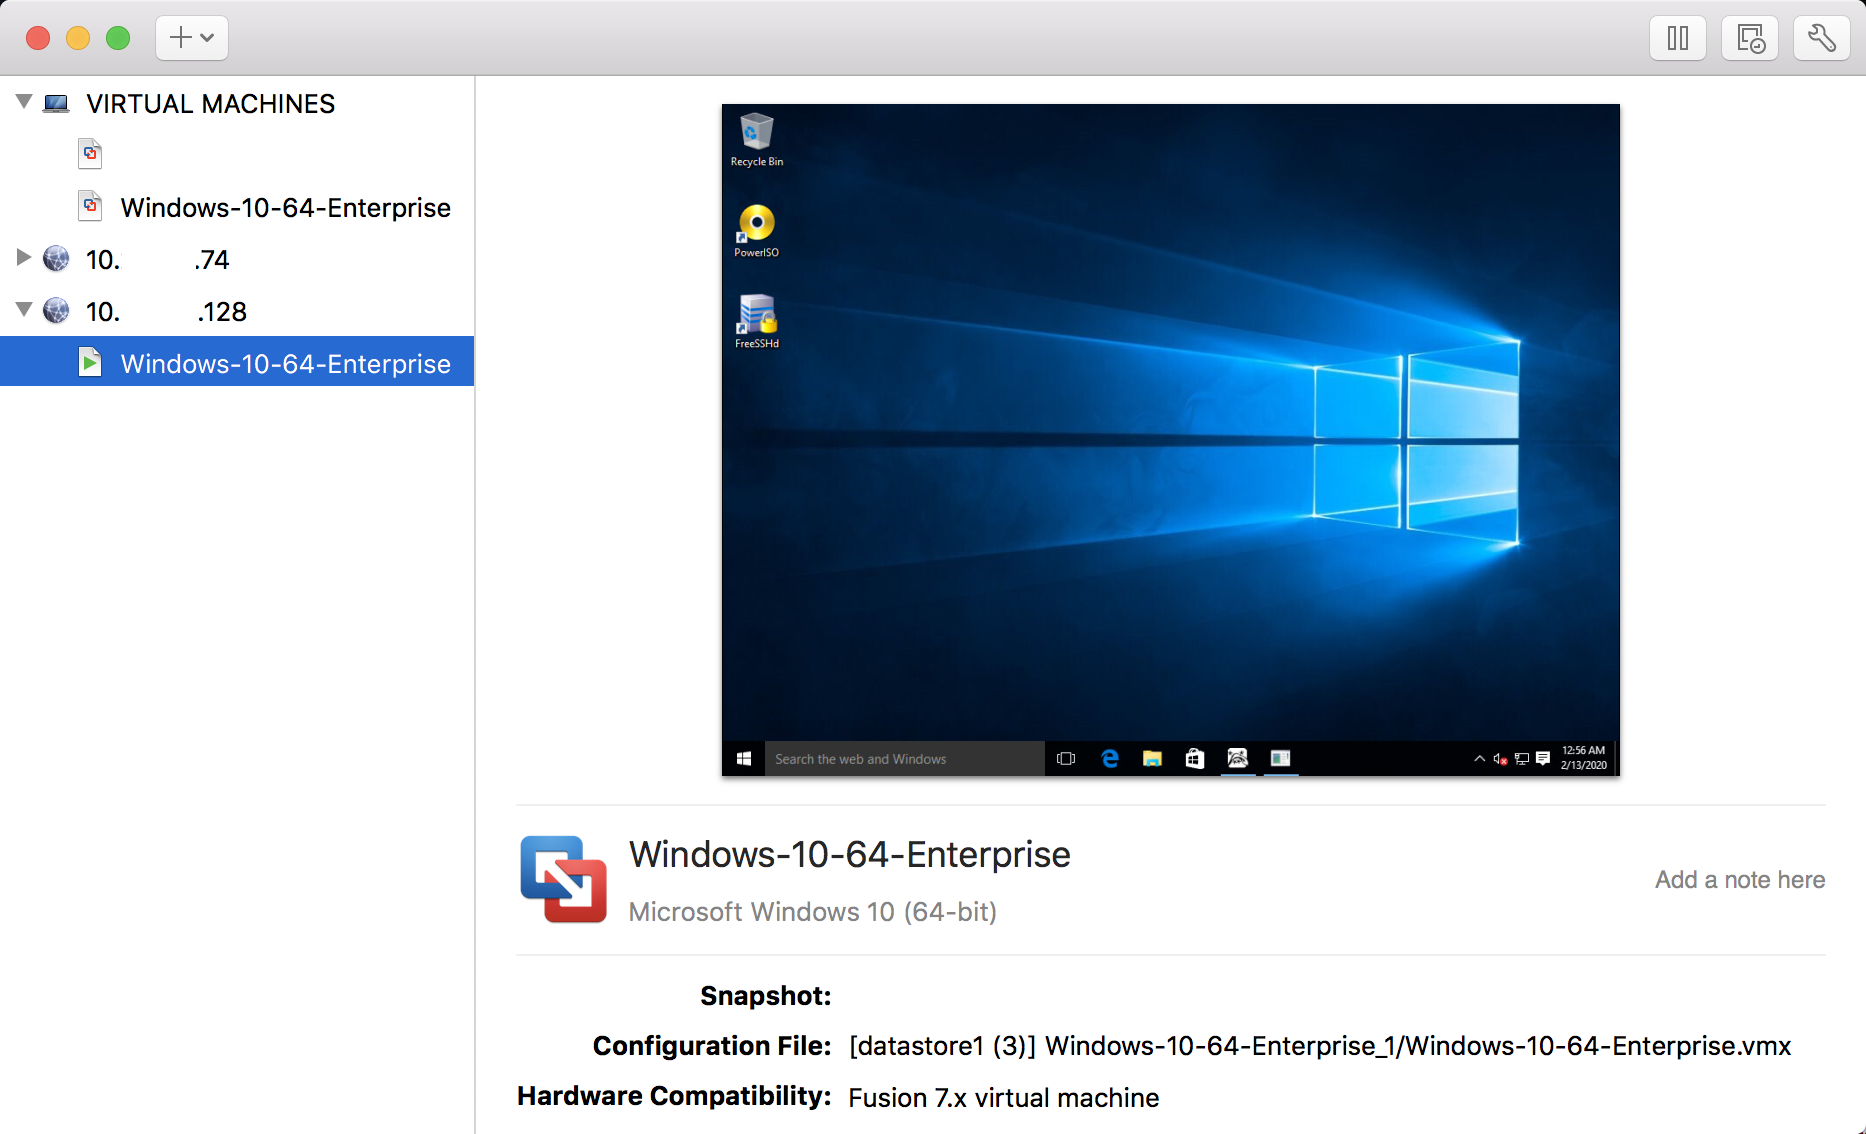
I used to run a VM in my mac with VMware Fusion. As my mac is getting older, the VM is becoming slower and slower. One day I got an ESXi host which had sufficient resource to run that VM, but migration from VMware Fusion to ESXi was not a straight forward task. If you are facing similar problem with VMware Workstation or Fusion, the following steps will help you.
Step 1: Export VMDK
Assuming you want to migrate this VM in your local environment:
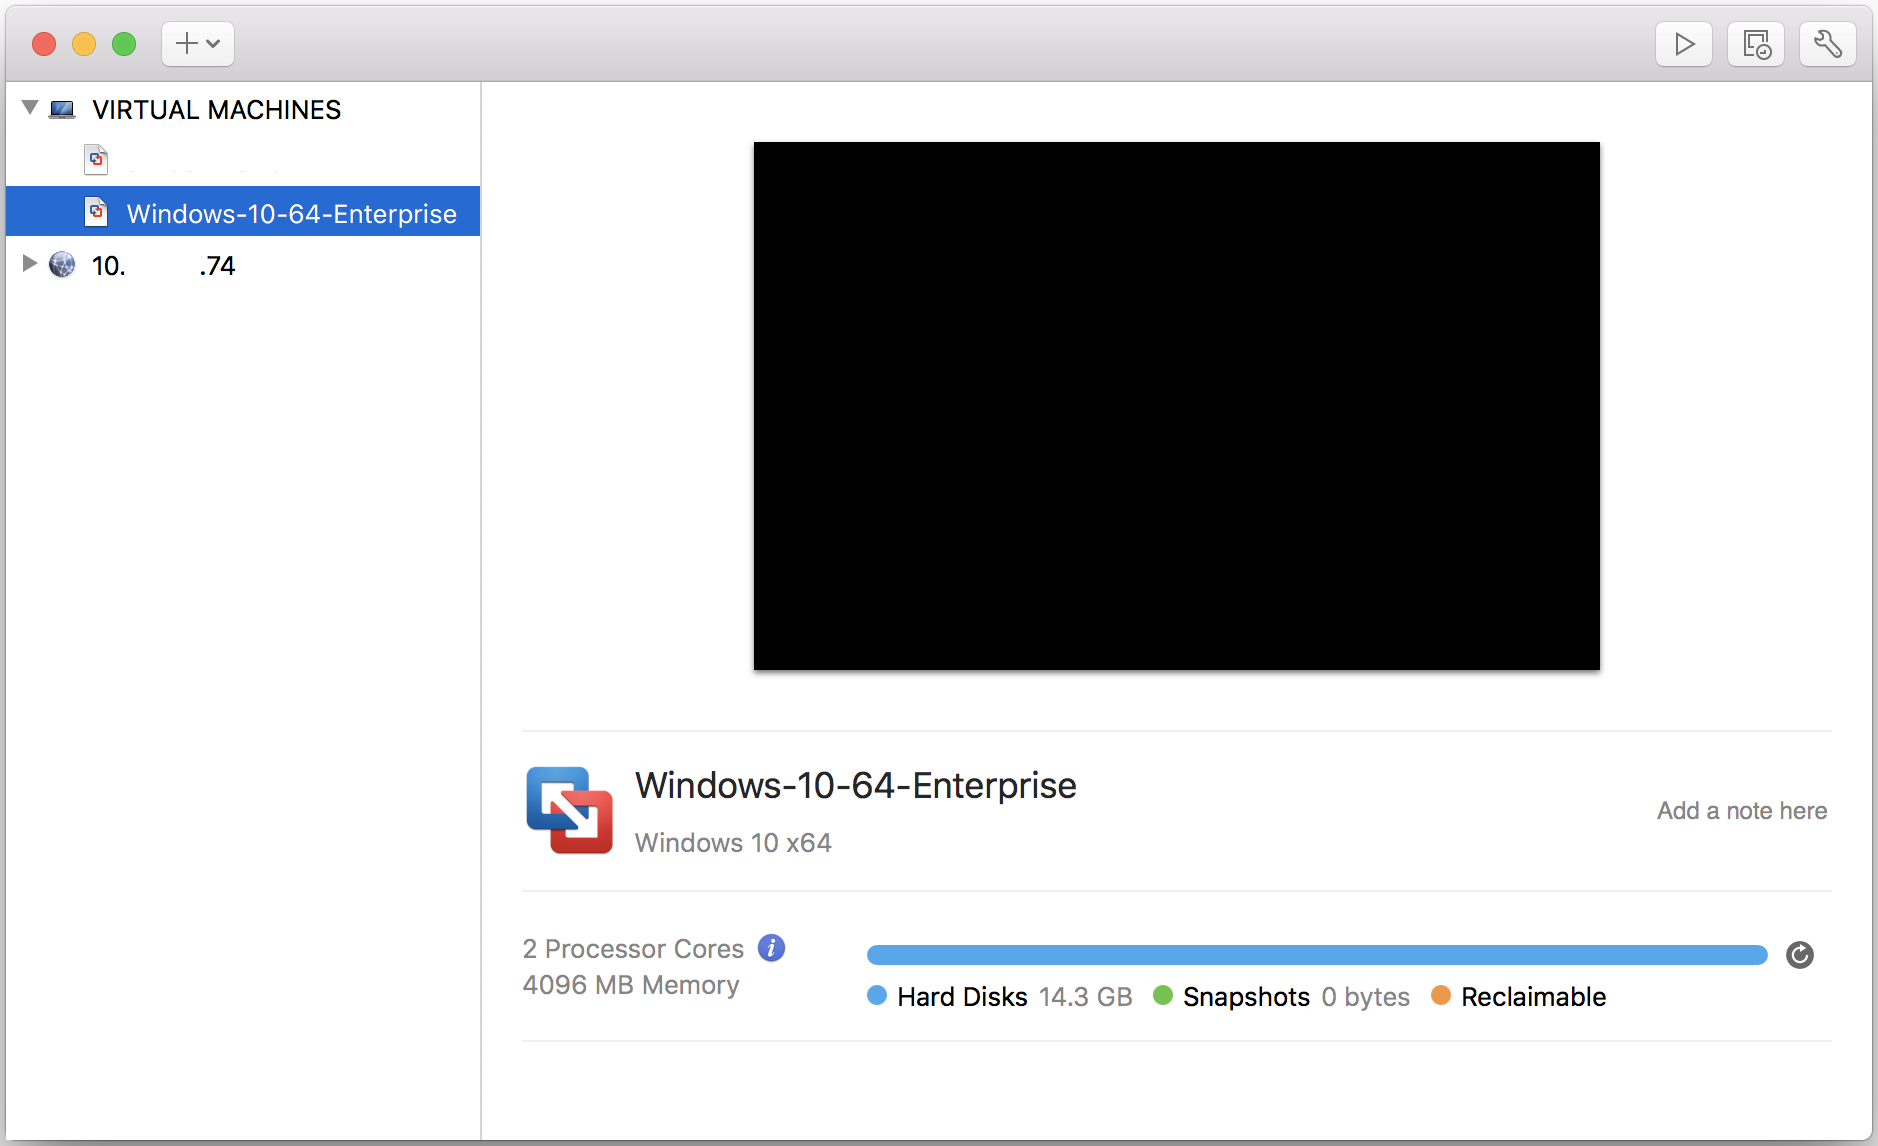
First you need to export the VM, which contains the VMDK file you will need to transfer to the ESXi host.
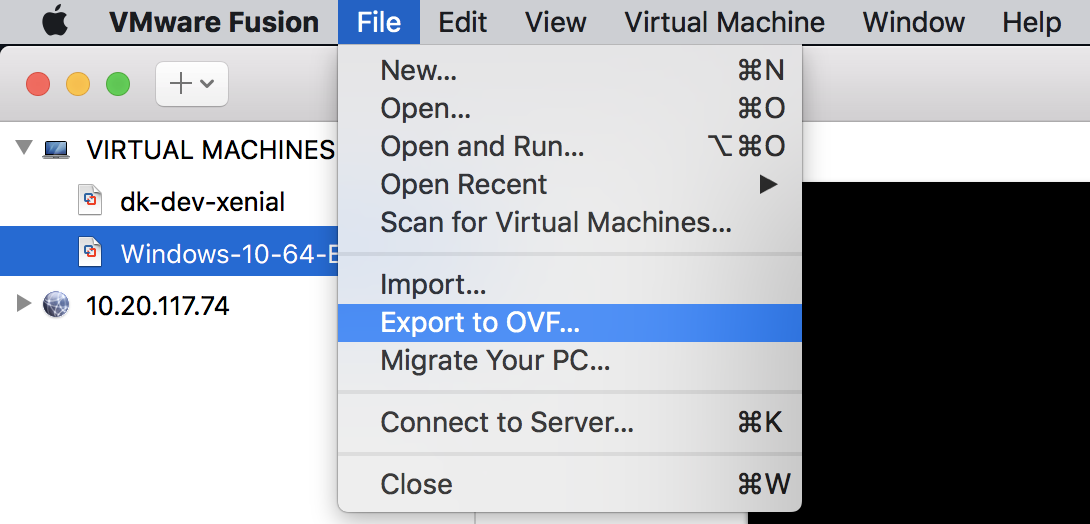
A VM can be export as a single OVA file, or two separate files (OVF file + VMDK file). The recommendation is choosing separate files, since only VMDK file is needed in later steps.
Step 2: Upload and Convert VMDK
When the export finishes, you can use scp to upload the VMDK file to ESXi datastore.
1 | [root@esxi:/vmfs/volumes/datastore] ls |
The VMDK format between ESXi and VMware Workstation / Fusion is different, so the uploaded file can't be consumed by ESXi directly. There is a command vmkfstools to convert Workstation and Fusion VMDK into ESXi's format. Let's rename the uploaded VMDK and do the conversion.
1 | [root...] mv Windows-10-64-Enterprise-disk1.vmdk Windows-10-64-Enterprise-disk1.vmdk.fusion |
Now you should have the following files in the datastore:
1 | [root...] ls |
"Windows-10-64-Enterprise-disk1.vmdk.fusion" is the original VMDK you uploaded. "Windows-10-64-Enterprise-disk1.vmdk" and "Windows-10-64-Enterprise-disk1-flat.vmdk" are the new files generated by vmkfstools command.
Step 3: Create New VM with VMDK
Now you can create a new VM with the generated VMDK in the datastore. The UI may be different in your environment.
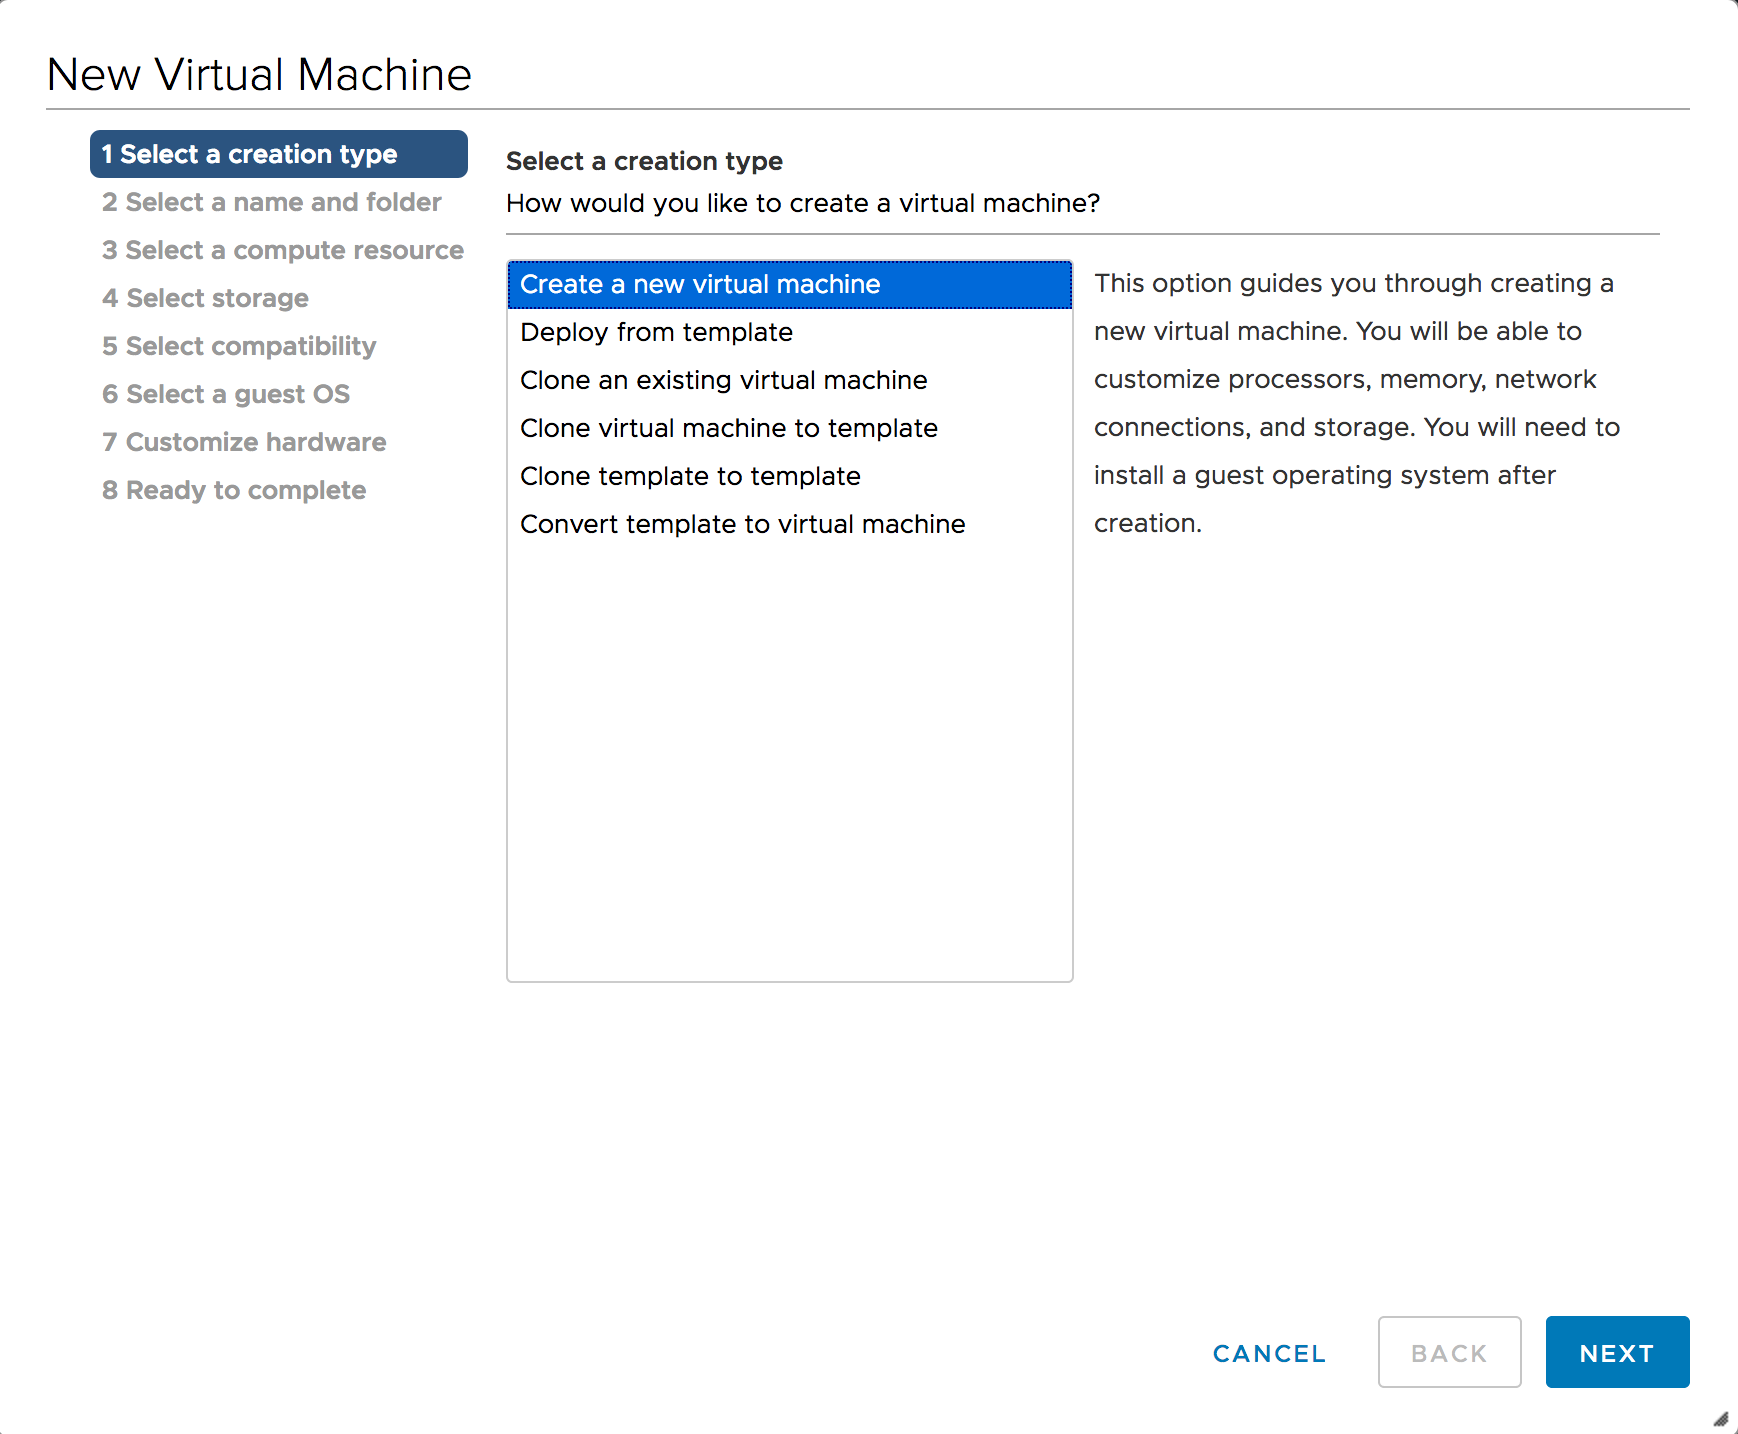
Click "New Virtual Machine...".

In creation type, select "Create a new virtual machine".
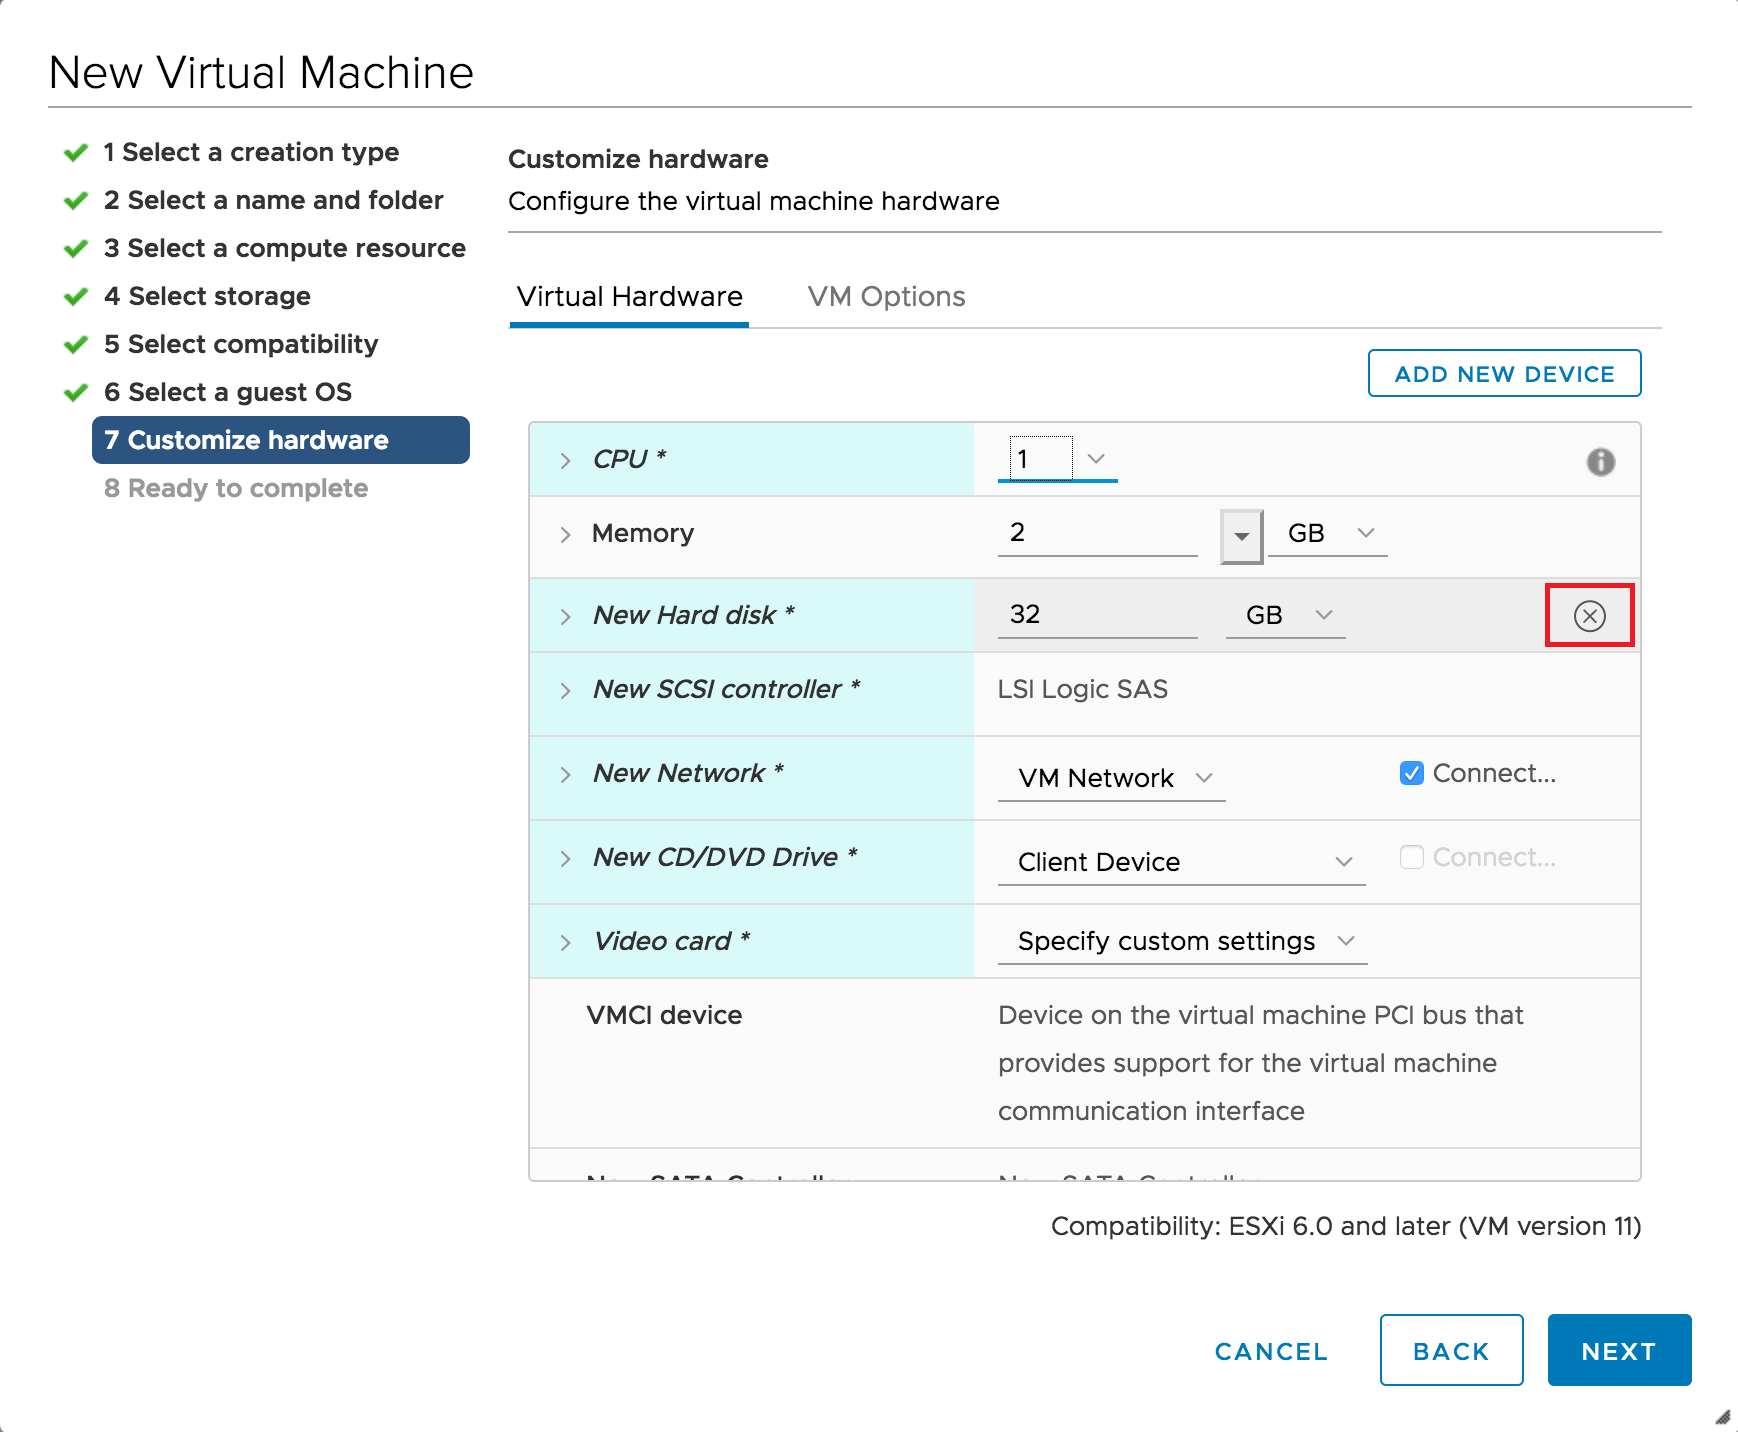
In customize hardware, click the cross at the right of "New Hard disk *" to remove the default disk assigned to this virtual machine.
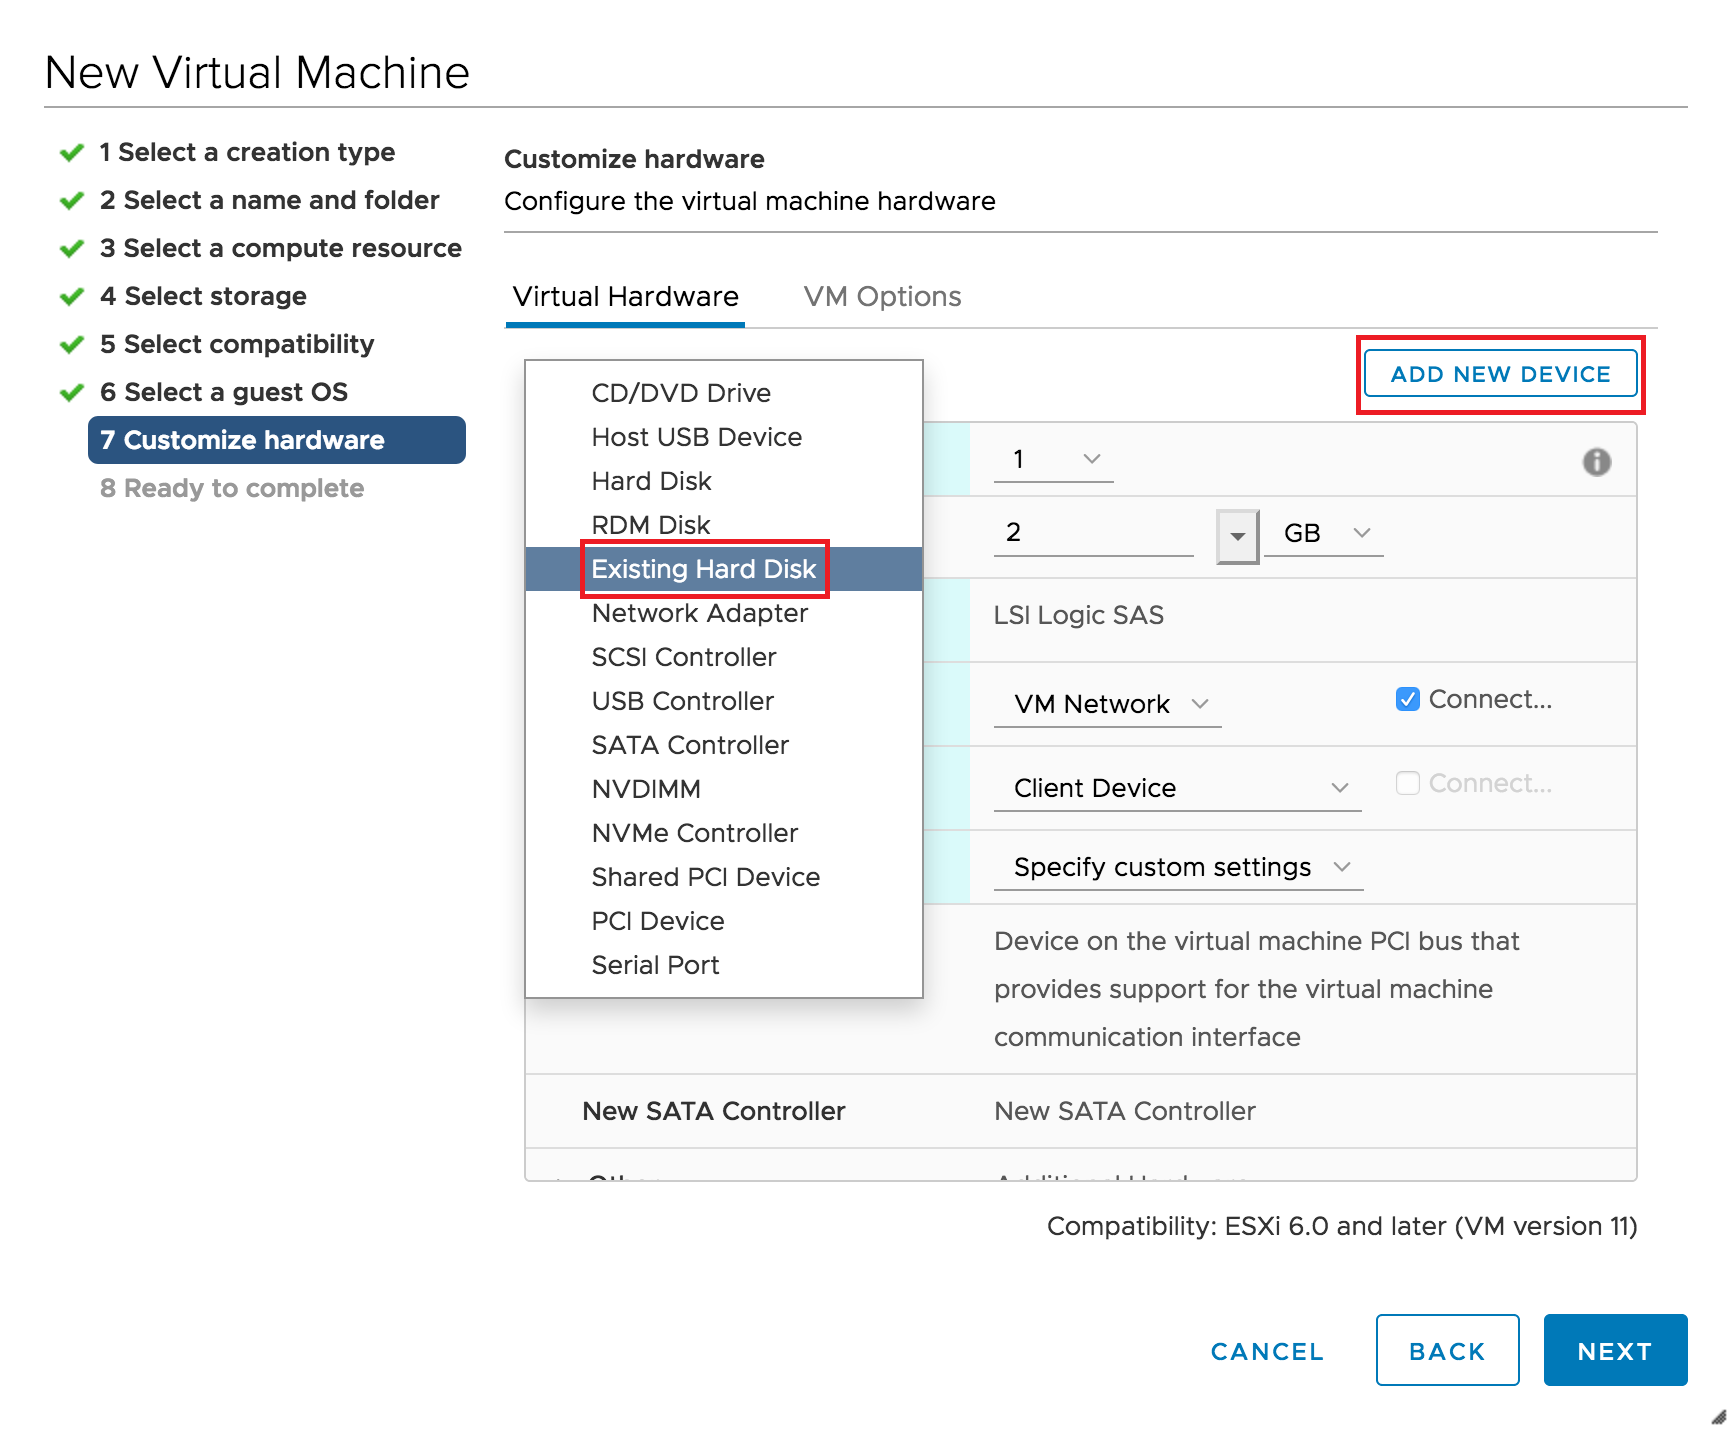
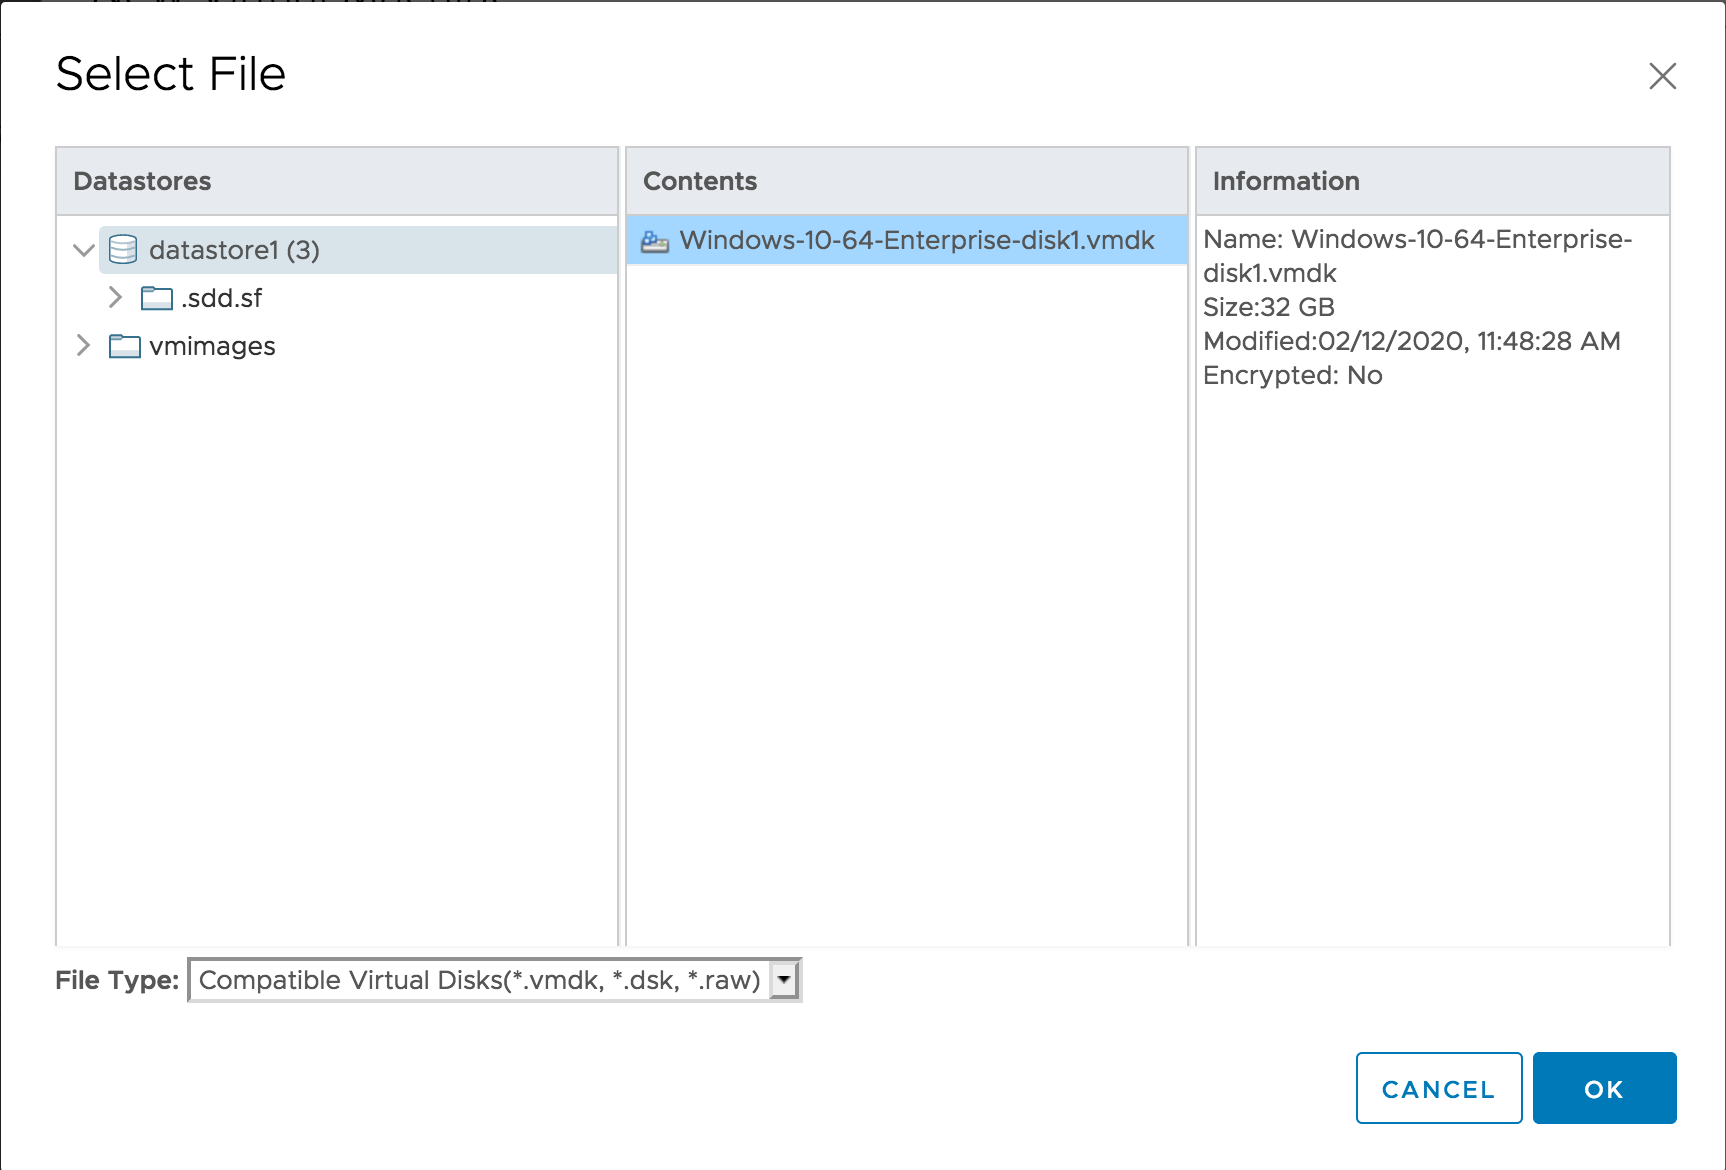
Then click "ADD NEW DEVICE" -> "Existing Hard Disk", and select the generated VMDK file.
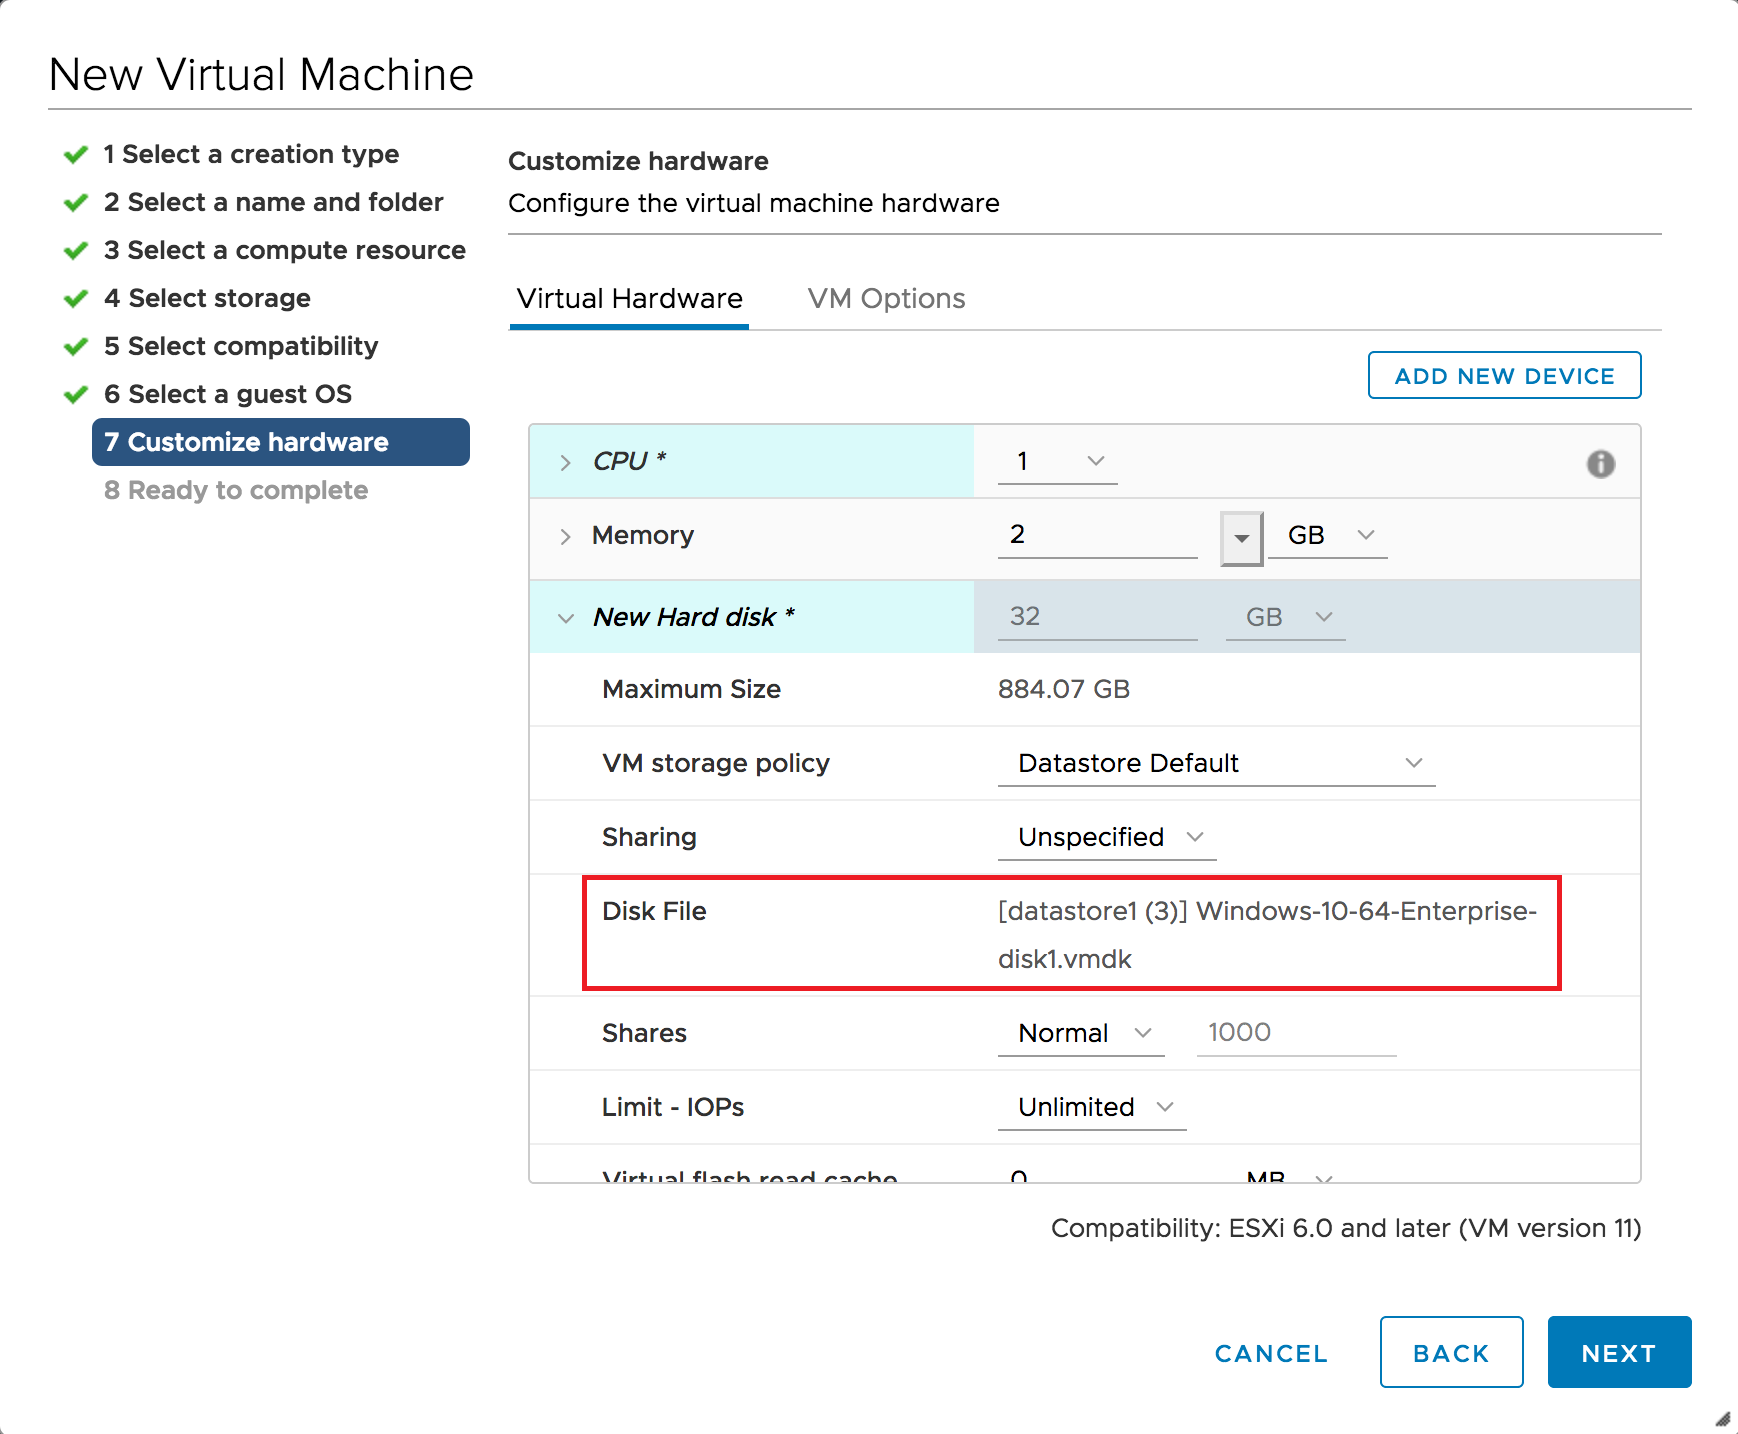
After that, you should be able to see the generated VMDK is listed as "Disk File".
When everything is correct, move forward to create and start VM. Now you should be able to access the VM from Workstation or Fusion even though it is running in ESXi.